Custom Product Builder
  Custom Boxes
  Custom Stickers
  Custom Labels
  Custom Postcards
  Promotional Items
 Foil Business Cards
- Copper, gold & silver foil options
- Silk-laminated coating
- Makes every card detail pop
Features
- Copper, gold & silver foil options
- Silk-laminated coating
- Makes every card detail pop
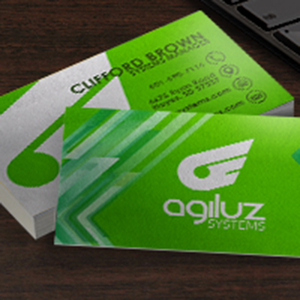
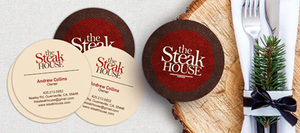
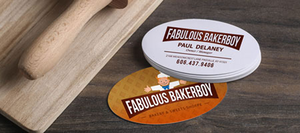
Print Plush Business Cards With Foil Stamping
Foil printing is a process where heat and pressure are applied to a metallic paper to bond it with business cards for added flair. Gold foil printing is a popular choice for entrepreneurs in need of a high-quality finish for their cards.
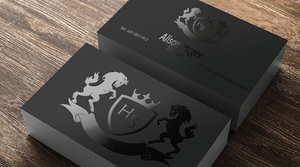
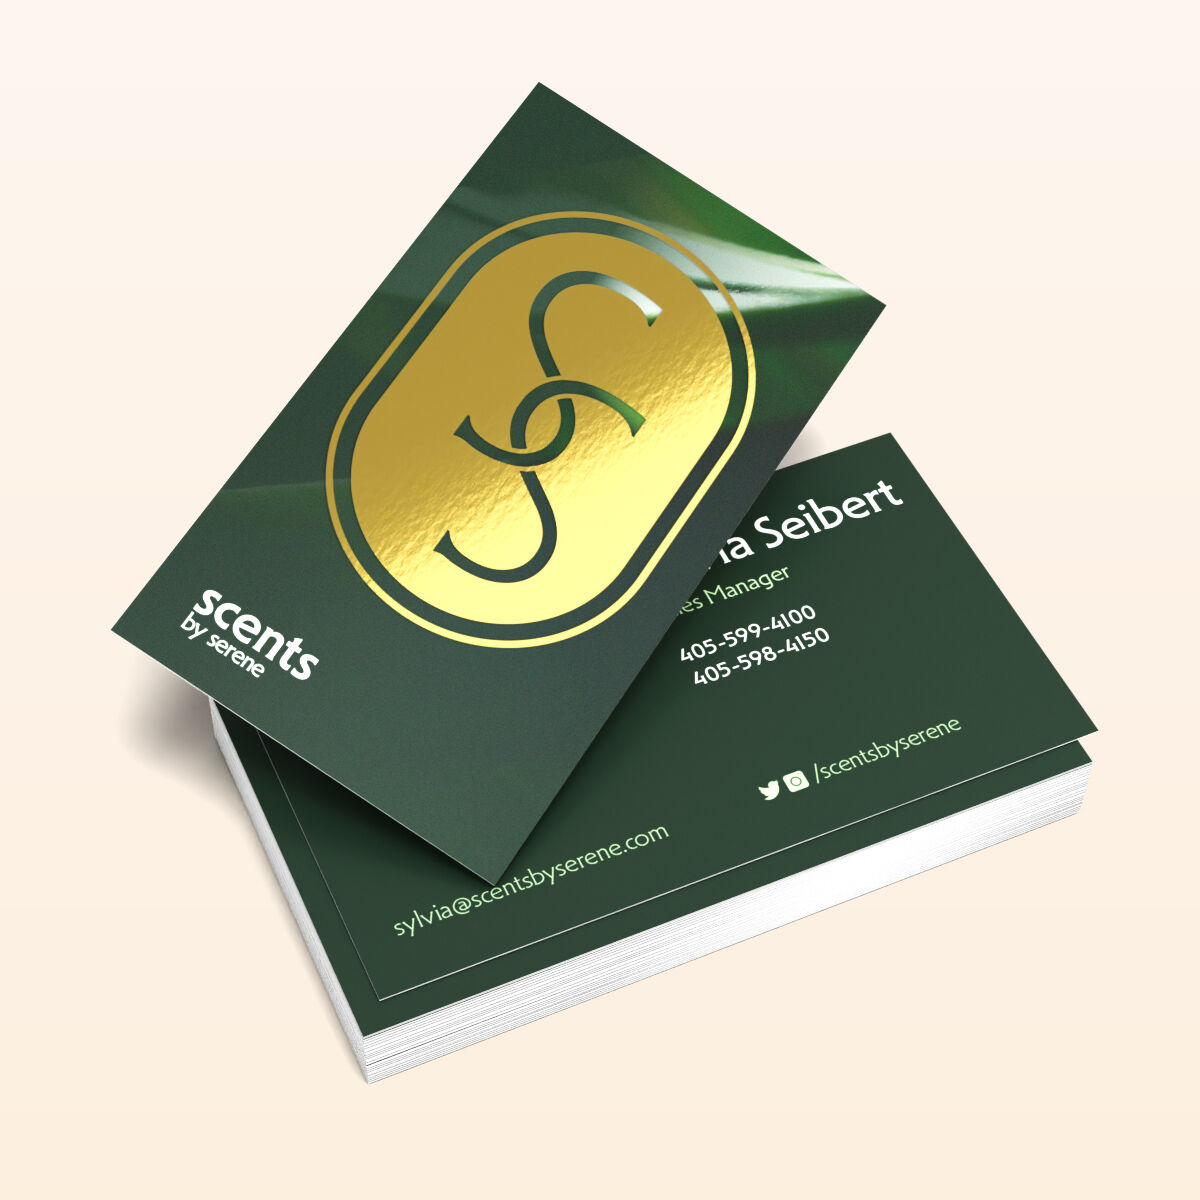
Create extravagant and unique business cards with foil business card printing. You can’t go wrong with any of our three foil color options: copper, gold, and silver. It puts attention to details you want to be emphasized.
You can choose from two types of cardstocks:

14 pt. Cardstock
- A durable cardstock that is the go-to choice for most business cards
- Uncoated on both sides, which allows for writability with a pen or pencil
- Smooth, textured surface complements the shiny colors from the foil

16 pt. Cardstock
- A little thicker and heavier than the 14 pt. cardstock
- Silk laminate adds to its thickness and increases it to a thicker 18 pt.
- Matte surface complements the foil’s extra shine.
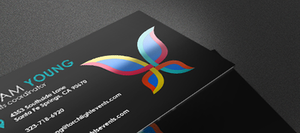
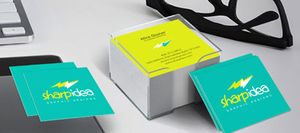
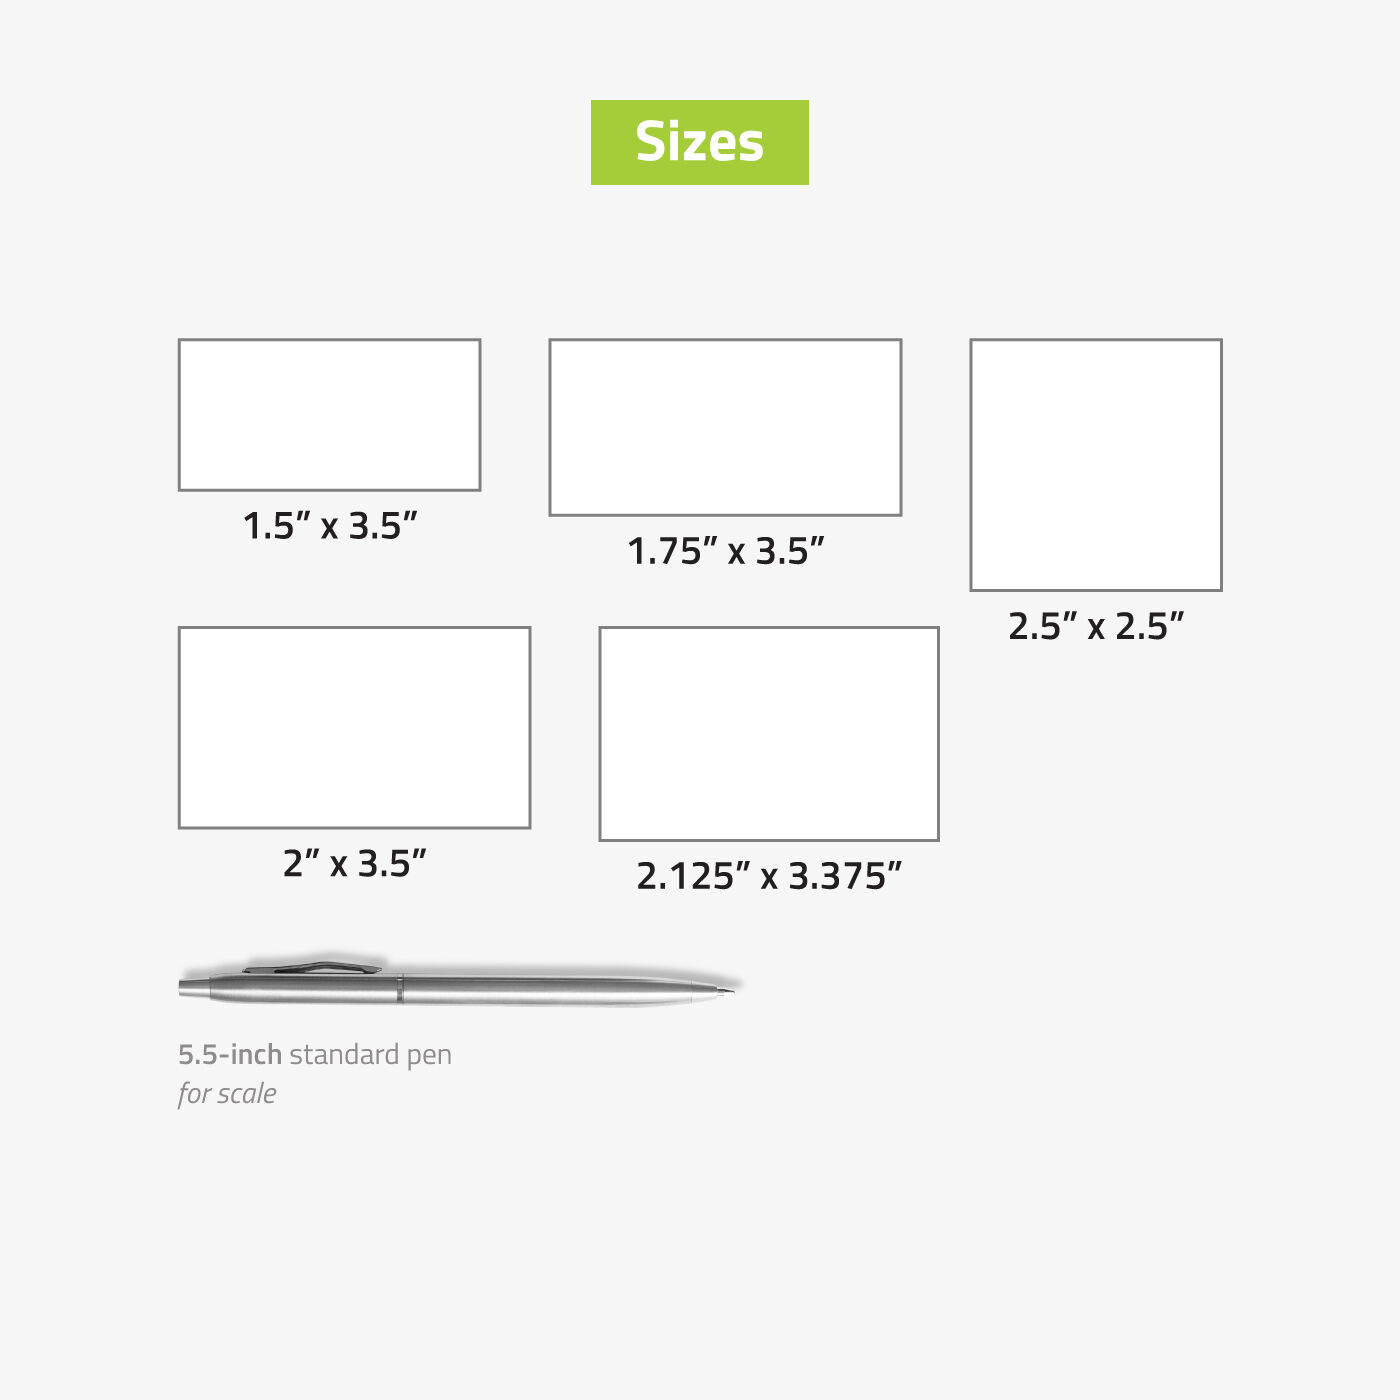
You can leave your business cards uncoated. But we highly recommend our silk-laminated coating which leaves a smooth, luxurious feel. With five size options, there will be a card that’s right for you. Adding spot UV to your foil stamped or foil embossed business cards will give them a high-end feel.
Stock up on foil business cards for your next conference, trade show, meeting, and other business dealings.
Foil Printing File Preparation Guidelines
What should I keep in mind while creating the foil design?
Use these design guidelines to create an effective foil design:
- The minimum font size requirement would be 7 or 8 points.
- Avoid using small or thin fonts or lines for foil objects.
- Borders and strokes must be more than 1.5 points.
- The mask and CMYK design file should match one another. Make sure each layer’s respective elements align with the other version of the design.
How should I prepare my file for foil printing?
You need to submit a file with two layers. For foil printing orders: the standard CMYK layer and the foil mask layer.
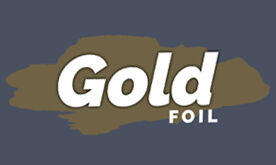
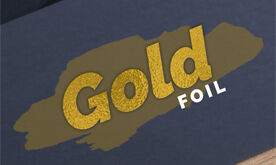
The mask layer should show where the foil printing will be applied. Mark the foil area with 100% K or black and then render the non-foil parts in white.
For example, the images below show that the text in black will be foil, while the white background is the non-foil section.

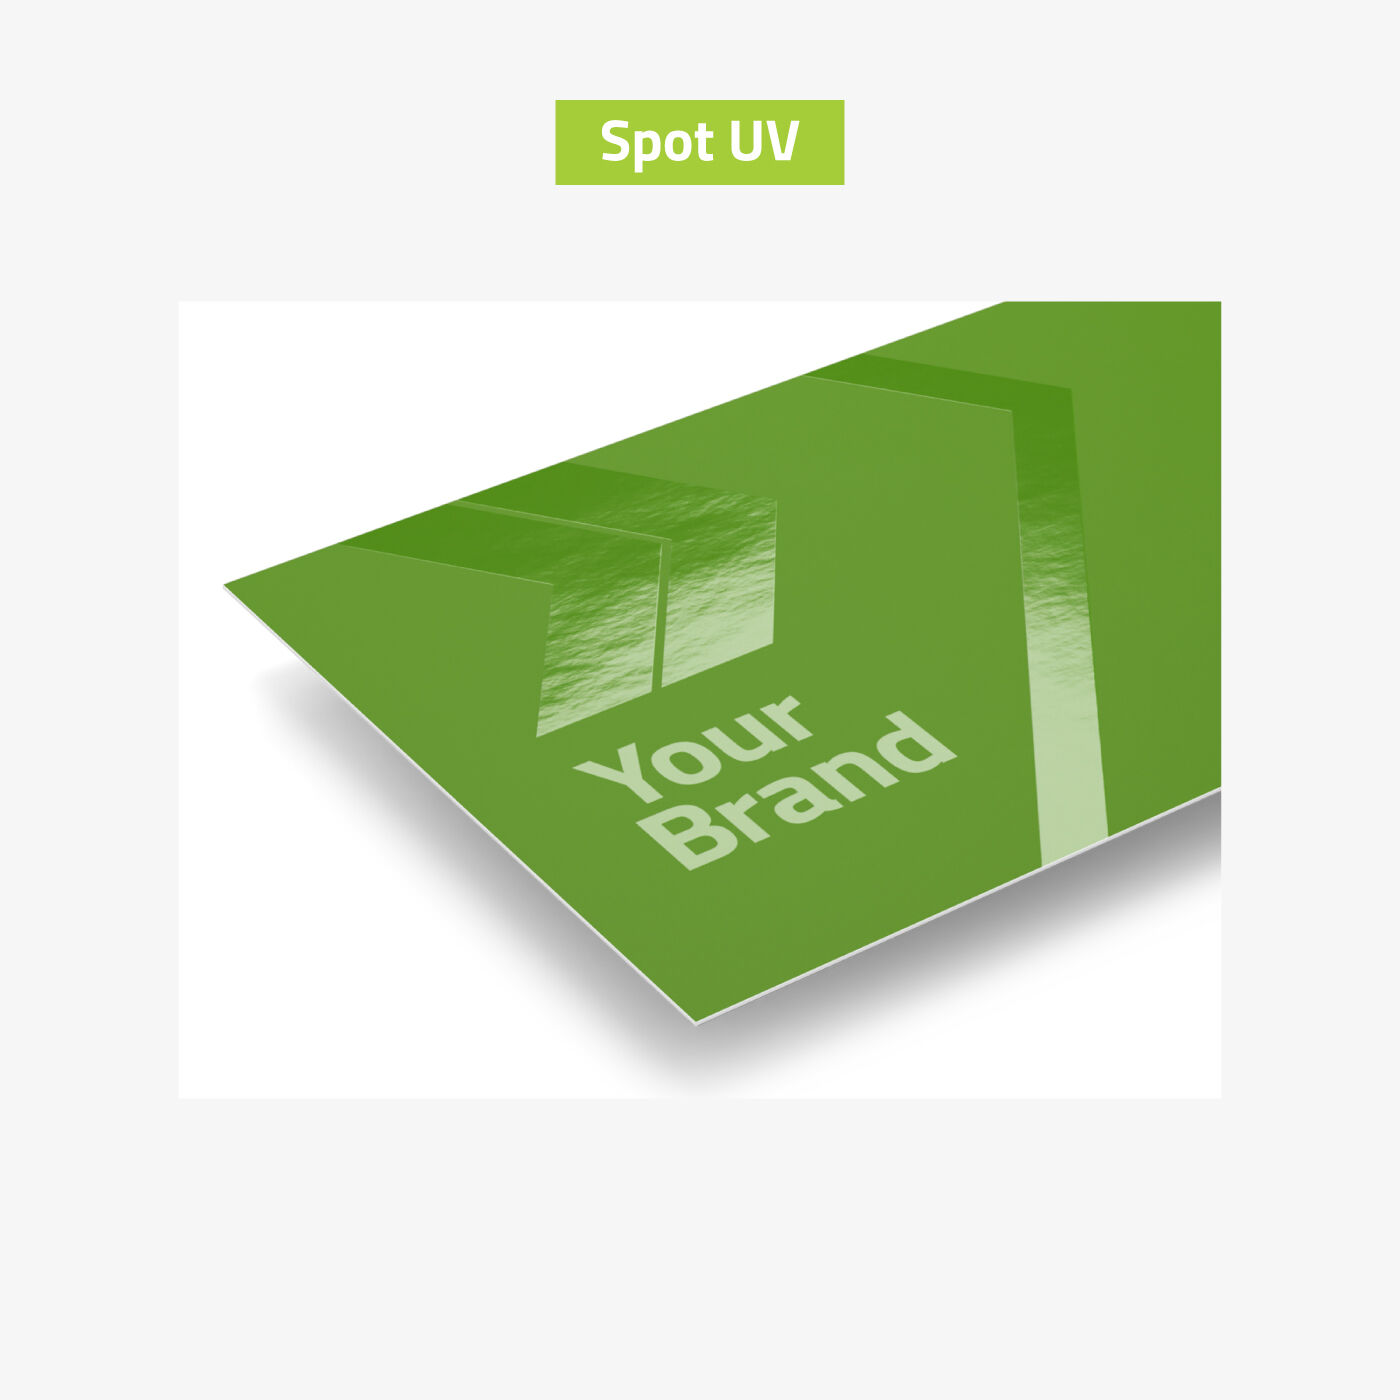
Spot UV File Preparation Guidelines
What are the best design practices for spot UV printing?
- Limit the text’s font size to a minimum of 7 or 8 points.
- Border and stroke should be above 1.5 points.
- Place a 1/16” gap between spot UV and metallic or foil printing areas. The spot UV areas cannot overlap with the metallic or foil printing sections.
How should I prepare my file for spot UV printing?
Your regular color file should come with a spot UV template layer that shows where to apply the spot UV printing.
Apply 100% K to the section that will have spot UV.
Color all other areas without spot UV as white.