The Complete Guide to Kiss-Cut Stickers
Written By: Leslie Taylor | Article Date: June 02, 2021
Whether you use them for promotional giveaways, branding, or labelling, custom stickers are one of the most versatile tools for any business and industry.
When printing stickers, it’s important to pick the right format that suits your objective. But how do you know which kind of sticker to get? This article covers everything you need to know about kiss-cut stickers, their benefits, and how to properly design and set up your kiss-cut sticker file for custom printing.
What are kiss-cut stickers?
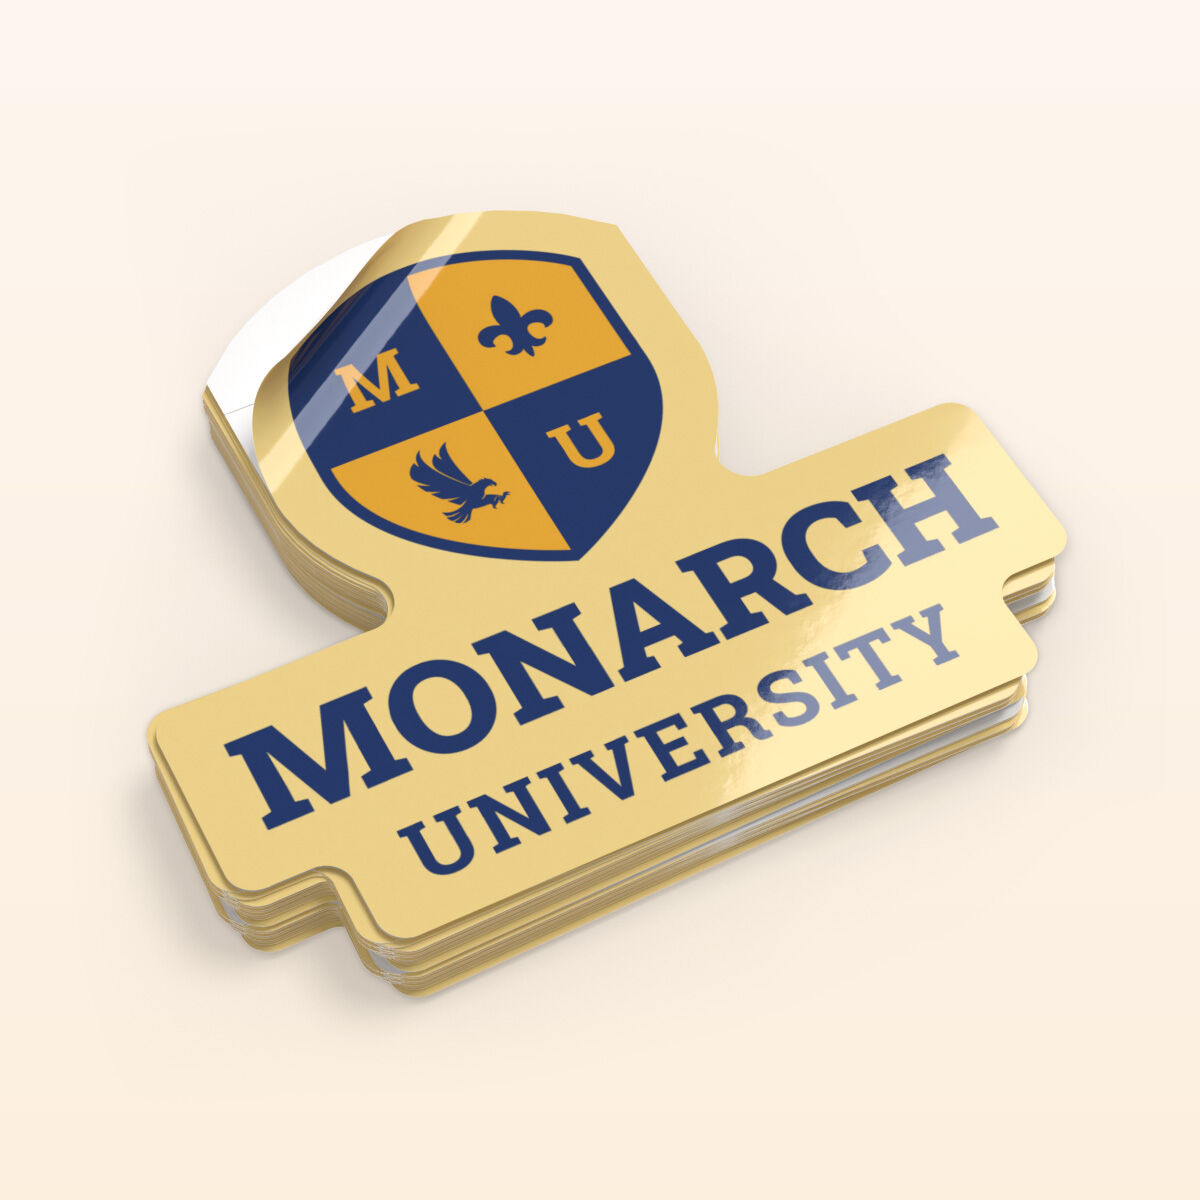
Kiss-cut stickers can come in any shape and design you want. You can go with standard shapes like square and circle or go for something completely unique! When printed, these stickers initially come in a square shape. Then your sticker design will only be cut through the vinyl, not the backing. When you peel the sticker, the backing around your sticker shape stays intact.
What is the difference between kiss-cut stickers and die-cut stickers?
Die-cut stickers (also known as cut-to-size and singles) can also produce any shape or design you want. When applied, both die-cut and kiss-cut stickers look the same. The only difference is that the die-cut process cuts through both the sticker and paper backing. When you peel off die-cut stickers, the entire sticker separates and leaves just the backing. With kiss-cut stickers, the border and the backing around the sticker stays intact.

What are the best uses for custom kiss-cut stickers?
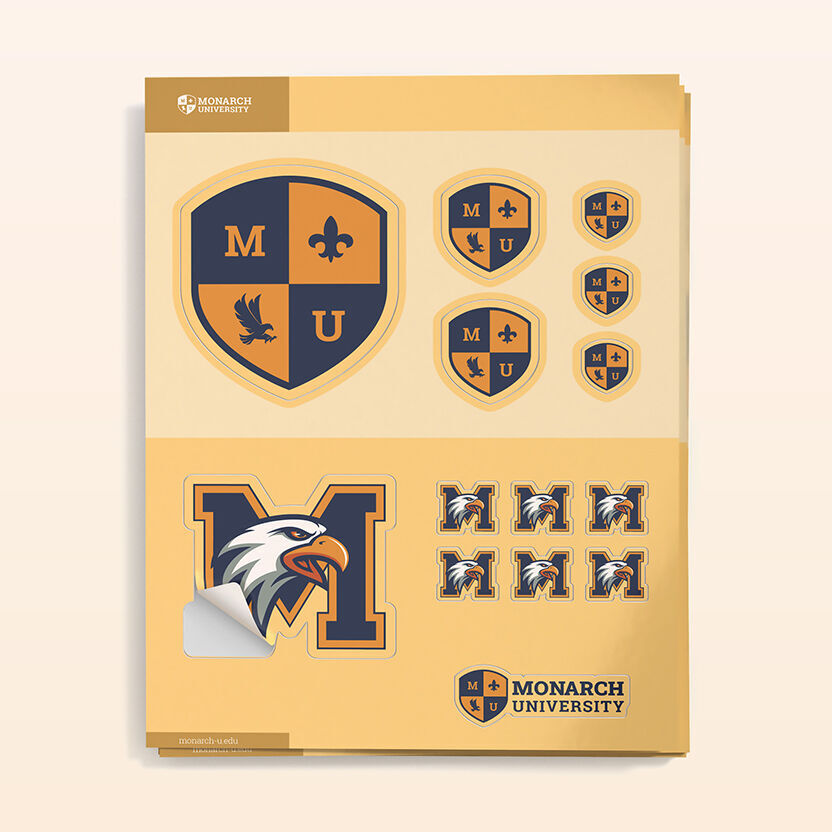
Kiss-cut is one of the most popular types of stickers because of their flexibility. Here are some of the many ways our customers use custom kiss-cut stickers
Added branding. The space outside your sticker shape offers extra room for promotional information. You can add a message, your company slogan, and especially your social media handles and website.
Intricate designs. Kiss-cut is also the ideal choice if you have a more delicate design, especially irregular edges that can get folded or snagged. The surrounding borders not only protect your stickers but make them easier to peel off and apply.
Promotional giveaways. With kiss-cut, you can also create multiple designs on a single sticker sheet. There is more room to get creative! Aside from your logo, you can also print fun, on-brand iconography that will make great packaging slips and freebies with customer purchases.
How do I set up my file for kiss-cut sticker printing?
Here is a quick guide on how to create a custom shaped kiss-cut sticker design using Adobe Illustrator. To make a kiss-cut design, you need to create two (2) layers: the sticker design and the kiss-cut layer.
Get your artwork ready. Open the existing sticker design you want to set up as a kiss-cut sticker. Resize the image to your preferred size of the sticker. Label this layer as “Sticker Design” and lock it.
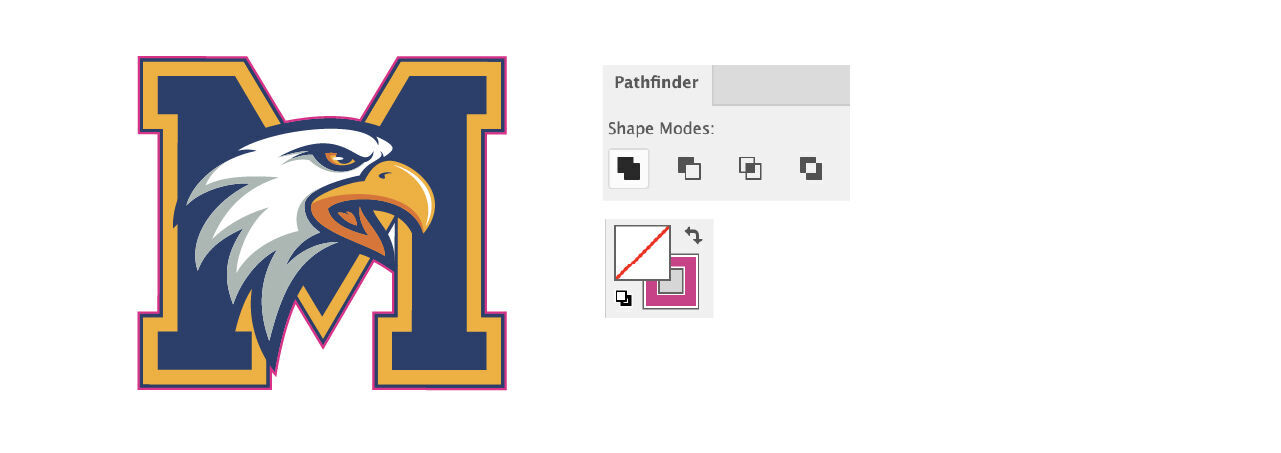
Create the kiss-cut layer. Once you have set up your design and labelled that as “Sticker Design”, you need to duplicate that layer and label it as “Kiss-Cut”. Move the kiss-cut layer under the sticker design layer. Merge this layer into a solid shape by clicking Window > Pathfinder > Unite. Then select the solid shape, set the Fill color to none and the stroke color to 100% magenta.
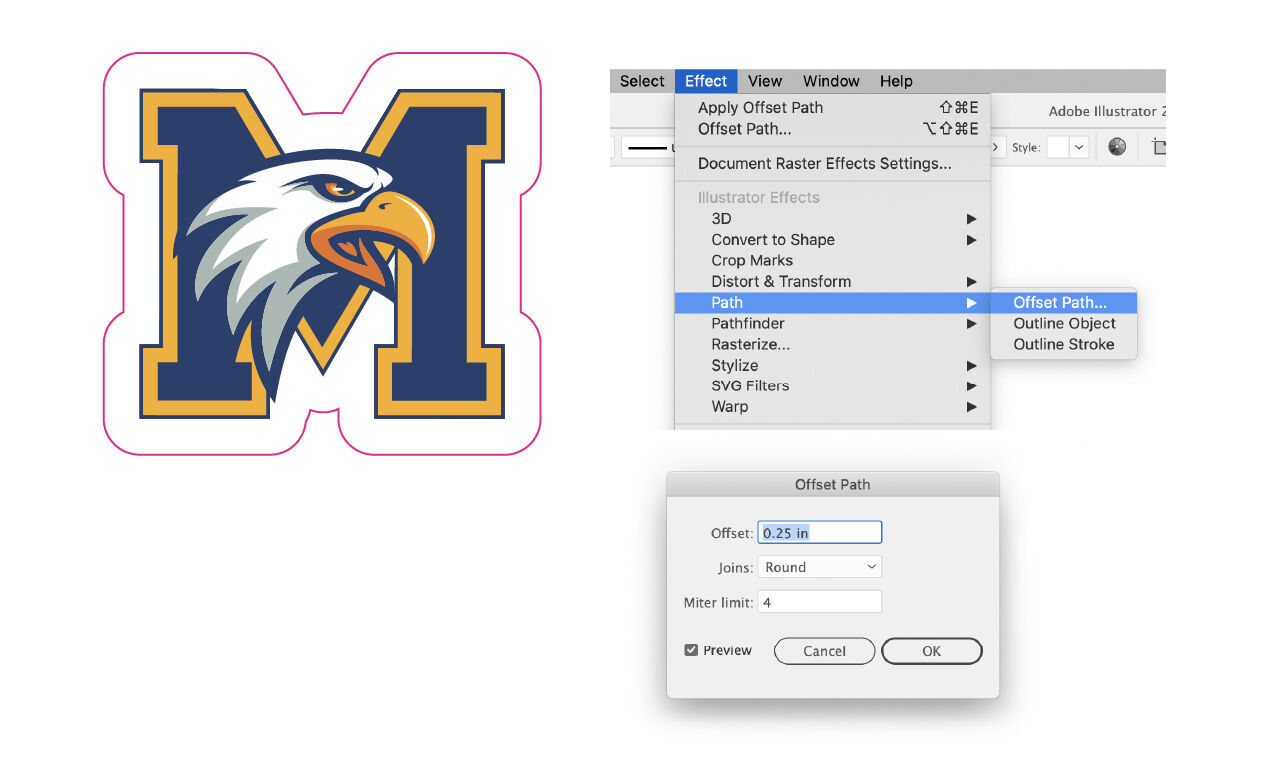
Set the offset line. This next step will create the space between your sticker design and the trim line for laser cutting. Make the “Sticker Design” layer visible again and select the “Kiss-Cut” layer. Now go to Object > Path > Offset Path and set the distance you want. We recommend leaving .125” of space between the sticker and the kiss-cut line. We recommend selecting “Round” to create a shape with rounded edges. Use a thin 1 pt. stroke to indicate the kiss-cut line. This colored stroke will not appear in the final printed product. It is merely a guide for laser cutting.
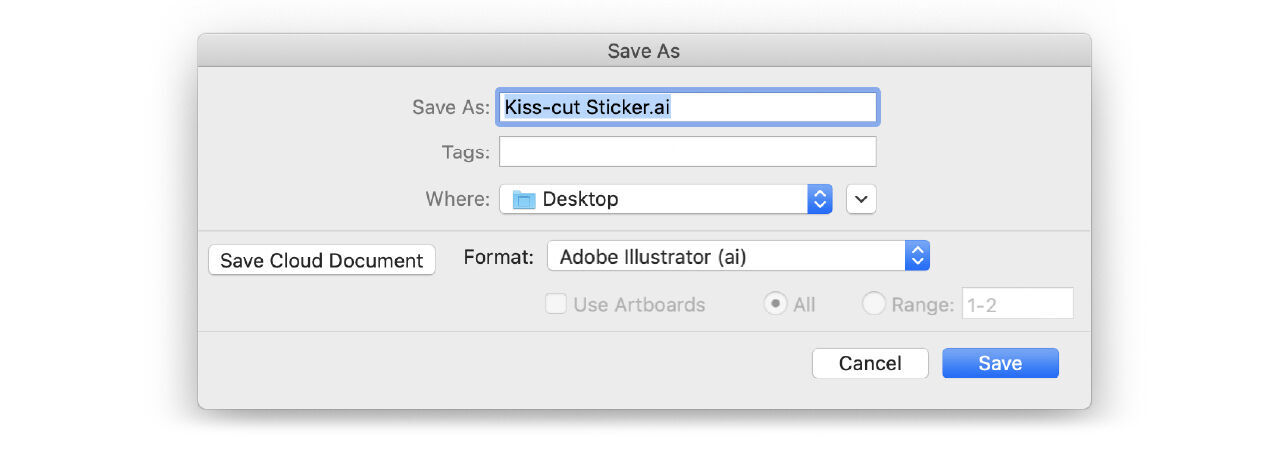
Save your file. For accurate and high-quality printing results, check that the resolution is no less than 300 dpi and that it is in CMYK color mode. We recommend saving your file in PDF to support the vector images and retain the path for laser cutting.

Ready to print custom kiss-cut stickers for your brand? NextDayFlyers offers free file proofs with every sticker order. Our prepress team carefully inspects your design file to make sure it will print accurately.
Want to learn more about using stickers and labels for your business? Check out how to use stickers for marketing and promotions.