NextDayFlyer Tips: How to Create Flyers in 7 Steps


Flyers are still widely used to promote a business, advertise a sale, or get the word out about an event. While their purpose has remained the same, flyer designs have changed over the decades as printing technologies have evolved and become more efficient.
This guide will walk you through seven easy steps to create attention-grabbing flyers representing your brand. From brainstorming concepts to finalizing and printing your design, we’ll ensure you get visually appealing flyers that can reach your audience.
Step 1: Conceptualize your flyers
“Everything starts with a good concept."
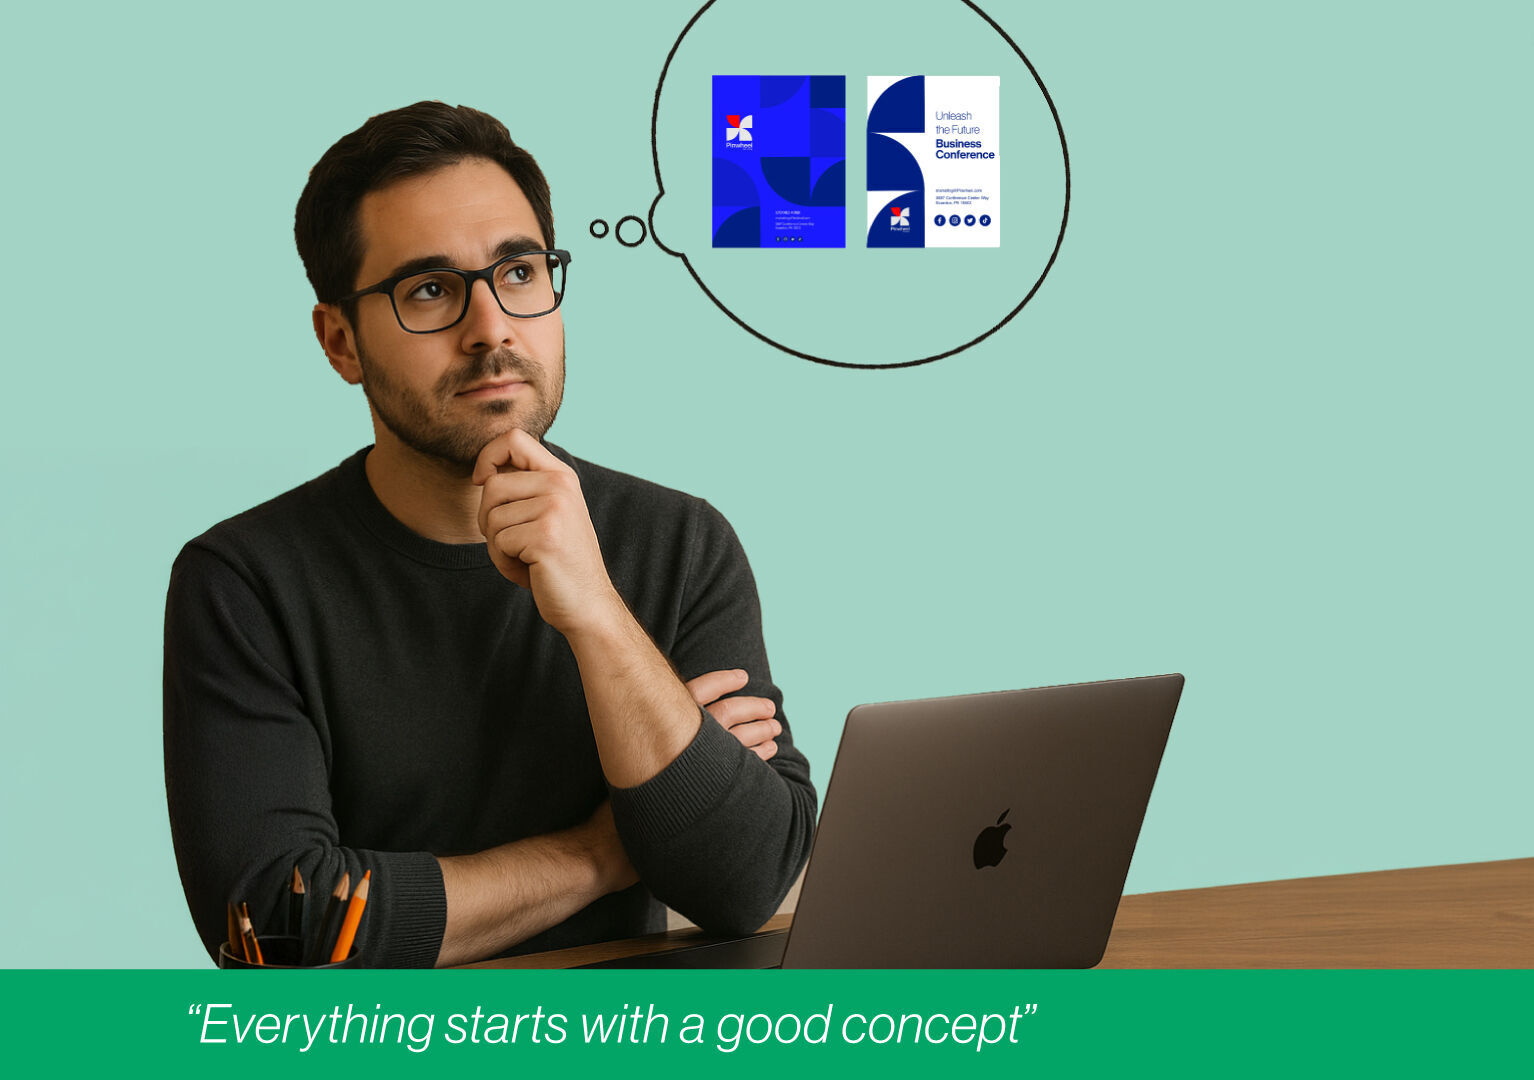
- Before starting the design, take a moment to map out your flyer's goal and distribution strategy. Are you promoting a new product or service, advertising a big sale, or inviting people to an event? Where do you want them distributed? Answering these questions can help organize your design and narrow it down so it's more polished in the long run.
- You also need to think about your target audience. Who do you want to reach? A younger crowd might respond to bold, trendy designs, while a more professional audience might prefer a sleek, orderly look.
- Lastly, consider the desired action you want your audience to take upon seeing your flyer and include that as an eye-catching call to action message on your flyer. Messages like "Limited Time Only!", "Shop Now!" or "Visit Us Today!" encourage people to act on your promotion, especially if they know all the details.
Step 2: Choose your layout and design
“You found the purpose of your flyer. Great! It’s time to design it!”
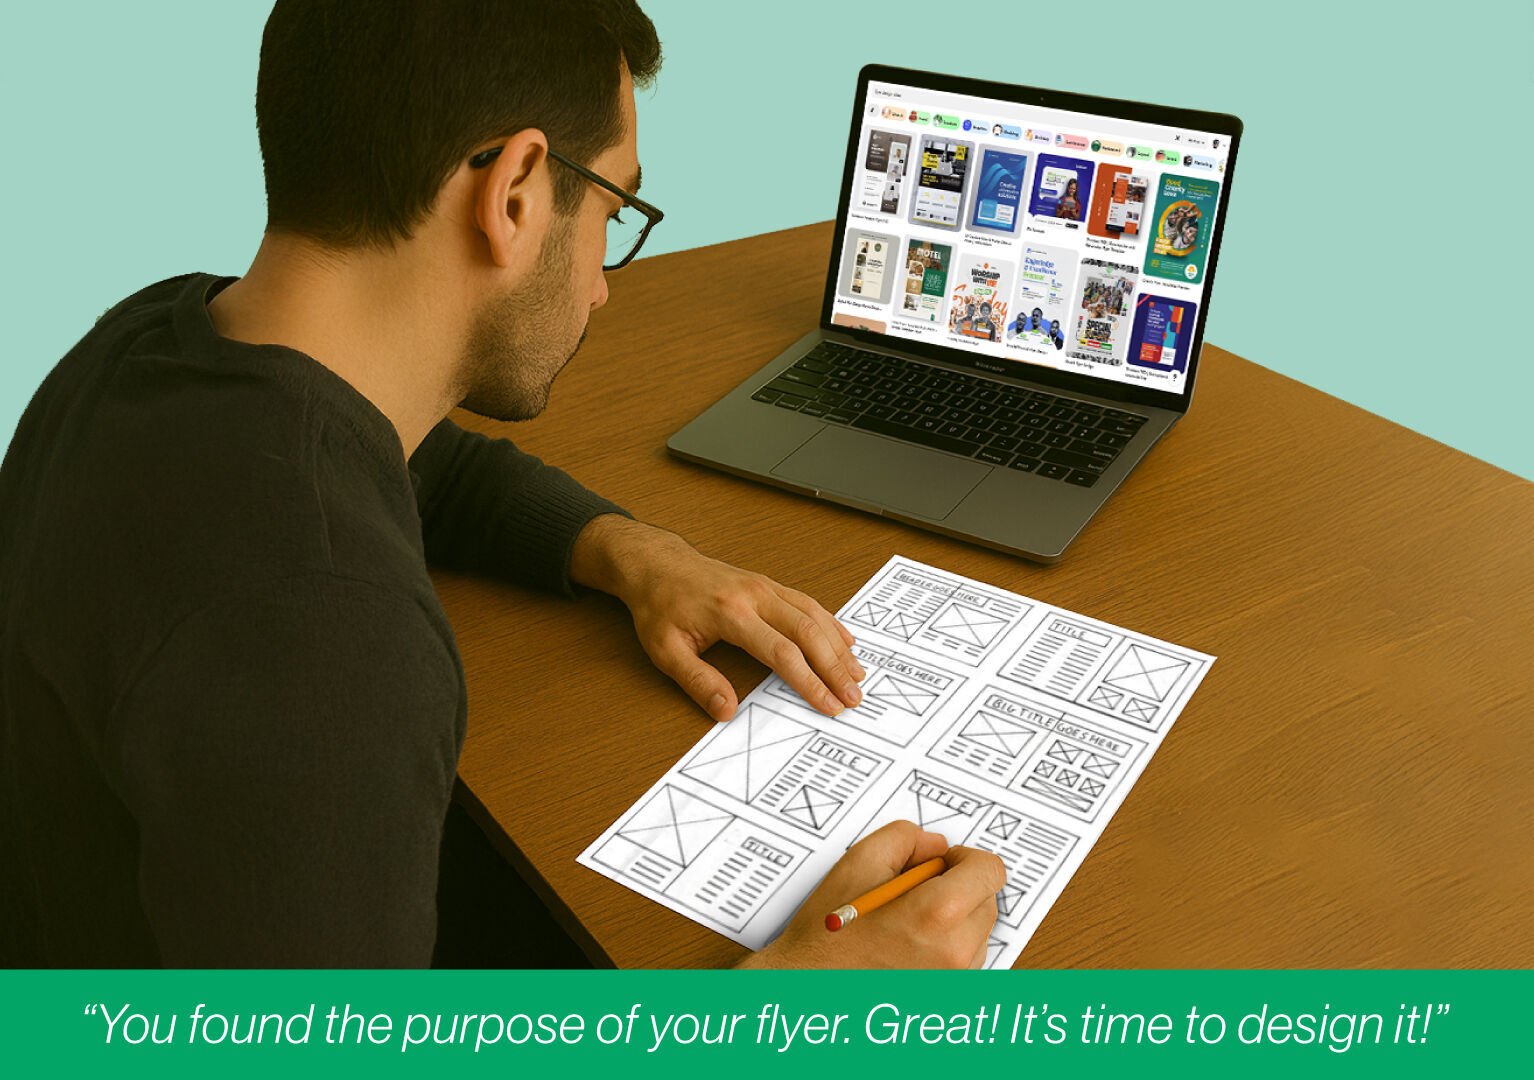
- Decide on the format – do you want a standard rectangular flyer, a folded brochure-style, or something unique? In some cases, the sales, promotions, and goal of your flyers will dictate what type you should go for.
- Next, add visuals that support your message. Use eye-catching images, custom fonts, brand colors, and a logo to make your flyer instantly recognizable. A well-designed flyer should be visually appealing and easy to read.
- NextDay Tips: NextDayFlyers offers a wide selection of premade design templates you can use as a basis or guide. Kickstart your design by choosing the one that best represents your business.
Step 3: Add all key information
“A great design grabs attention, but the correct information seals the deal.”
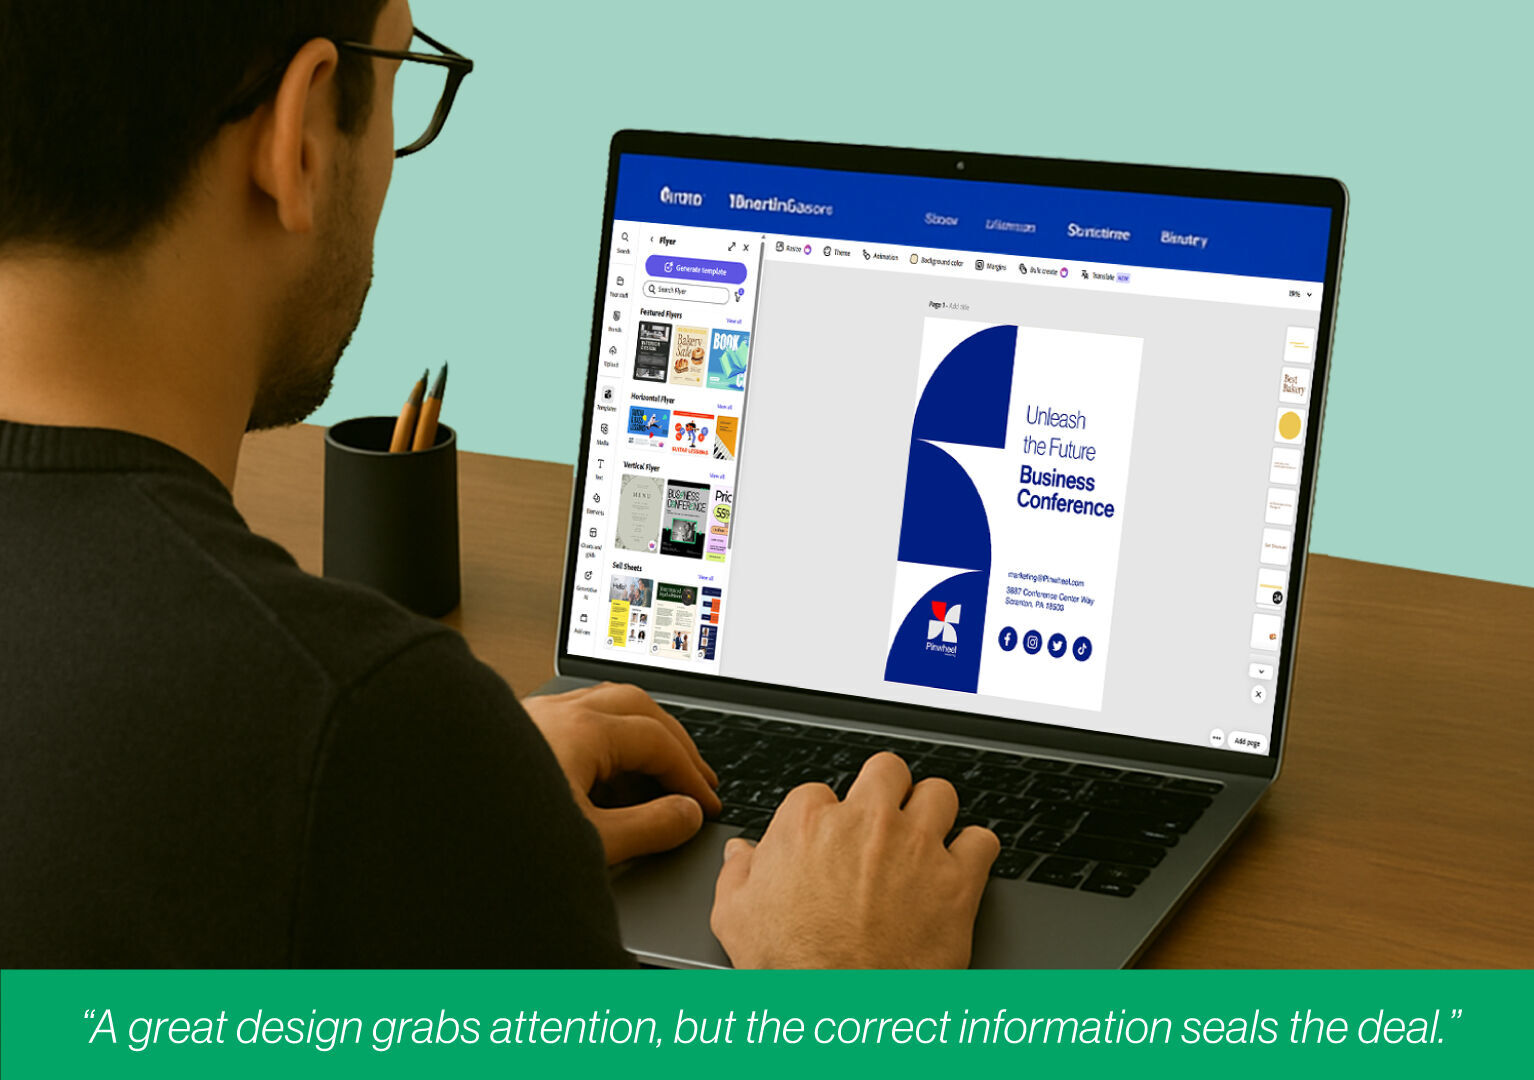
- Ensure your flyer includes essential details like your business name, contact information, address, and website – all laid out in an easy-to-read way.
- You may also include QR codes and email addresses on your business cards for easier online access.
- Keep your wording clear and concise so people can quickly understand your message. Add a strong hook to draw customers in, whether a limited time offer or an exclusive deal.
- Finally, include the call to action (CTA) that aligns with your brand’s vision.
Step 4: Review and refine the design
“A little revision goes a long way!”

- Once you've drafted your flyer design, take a step back and look for ways to improve it. Are the images high quality? If not, swap them out for sharper, more professional options. Do the colors pop? Adjust them for better contrast and visibility.
- Next, proofread everything. Check for typos or unclear messaging that can hurt your credibility. If needed, refine your CTA or shorten texts for better readability.
- Make your flyer print-ready so the final product looks polished and professional. List down all your revisions and then apply them accordingly.
- NextDay Tips: Having trouble with your design? You can request design services with NextDayFlyers. Upload your design and request a free proof. The graphics team will help modify your art just as you want it.
Step 5: Get your design press-ready
“Press-ready files get your flyers ready the next day!”
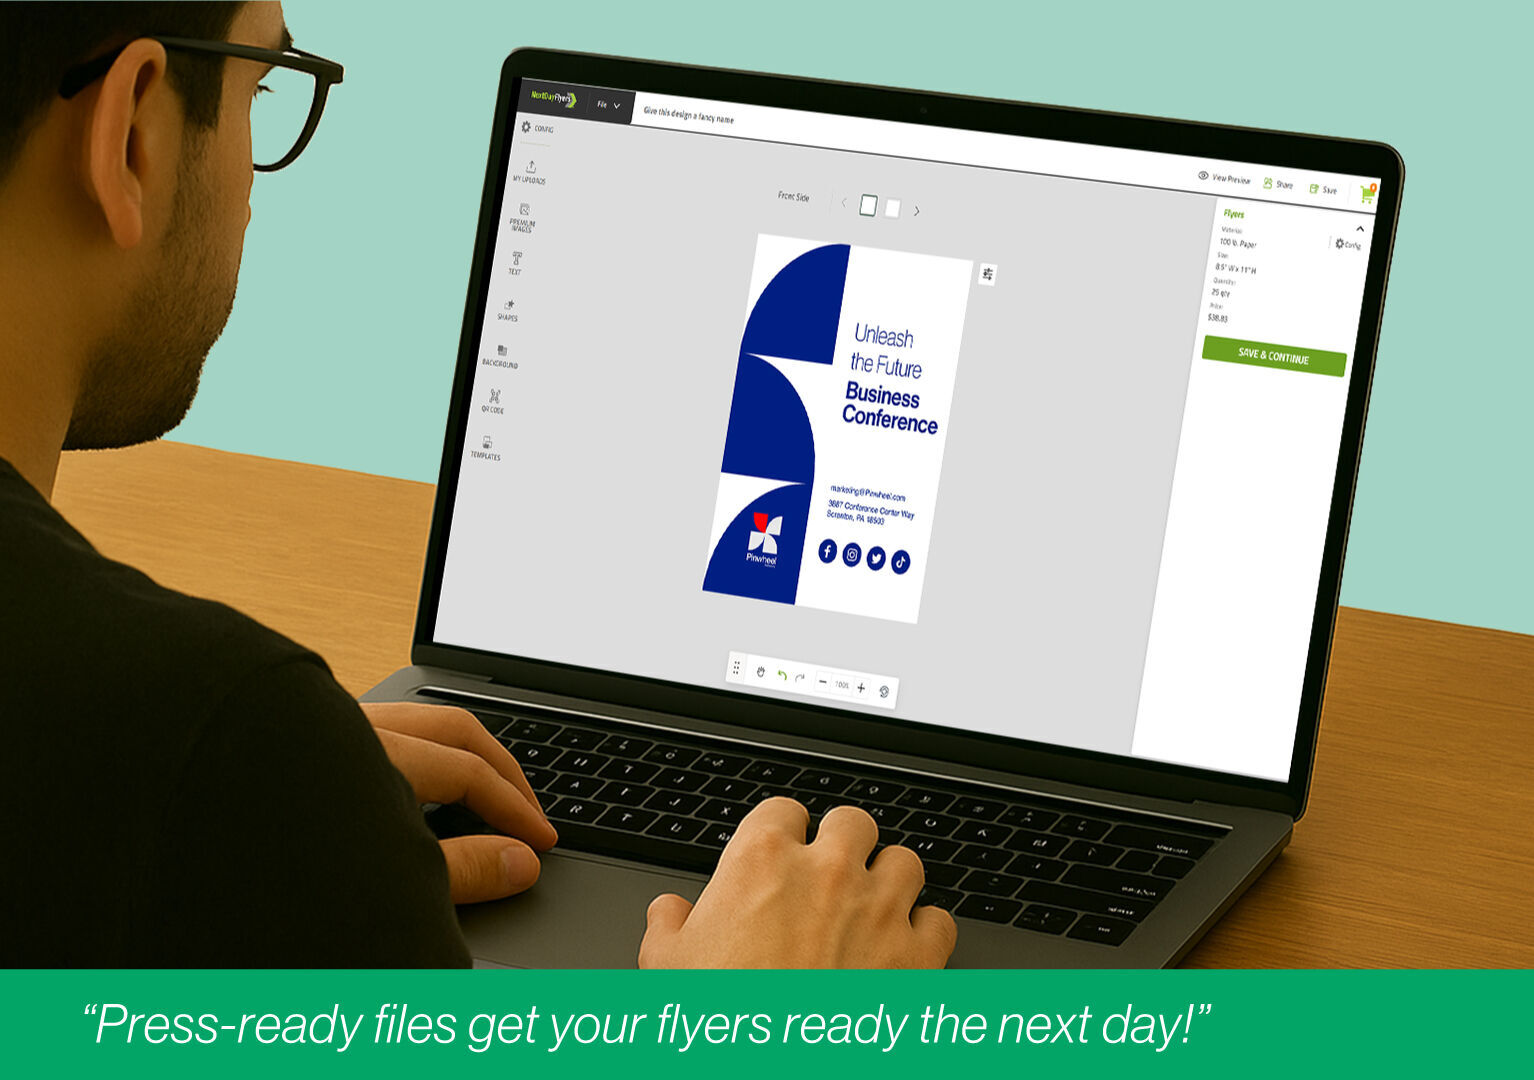
- Before sending your flyer to print, make sure everything is high-quality and properly formatted. Your images and text should be at least 300 dpi to avoid blurry prints.
- Save your file in the proper format to keep the design sharp and professional. PDF, PNG, or PSD files are the best formats when printing your design.
- Remember the trim and bleed areas to prevent essential details from getting cut off. Also, check that your flyer’s dimensions match the printing specs.
- NextDay Tips: Partnering with a trusted printing company like NextDayFlyers can give you a significant advantage in knowing the details of press-ready files beforehand, allowing you to submit one quickly that’s ready for the printers.
Step 6: Choose a printing partner and set turnaround times
“Now it’s time to bring your flyers to life!”

- Work with a trusted printing provider that can handle bulk orders and deliver high-quality results. Research different options, compare turnaround times, and choose a printer that meets your needs.
- With NextDayFlyers, you can expect a same-day printing turnaround when you submit press-ready files. You can also collaborate with a design team if you need final tweaks before printing.
- Once everything is approved, your flyers will be printed and ready to ship the next business day.
Step 7: Receive your flyers and start distributing
“Take the time to appreciate your new flyers!”
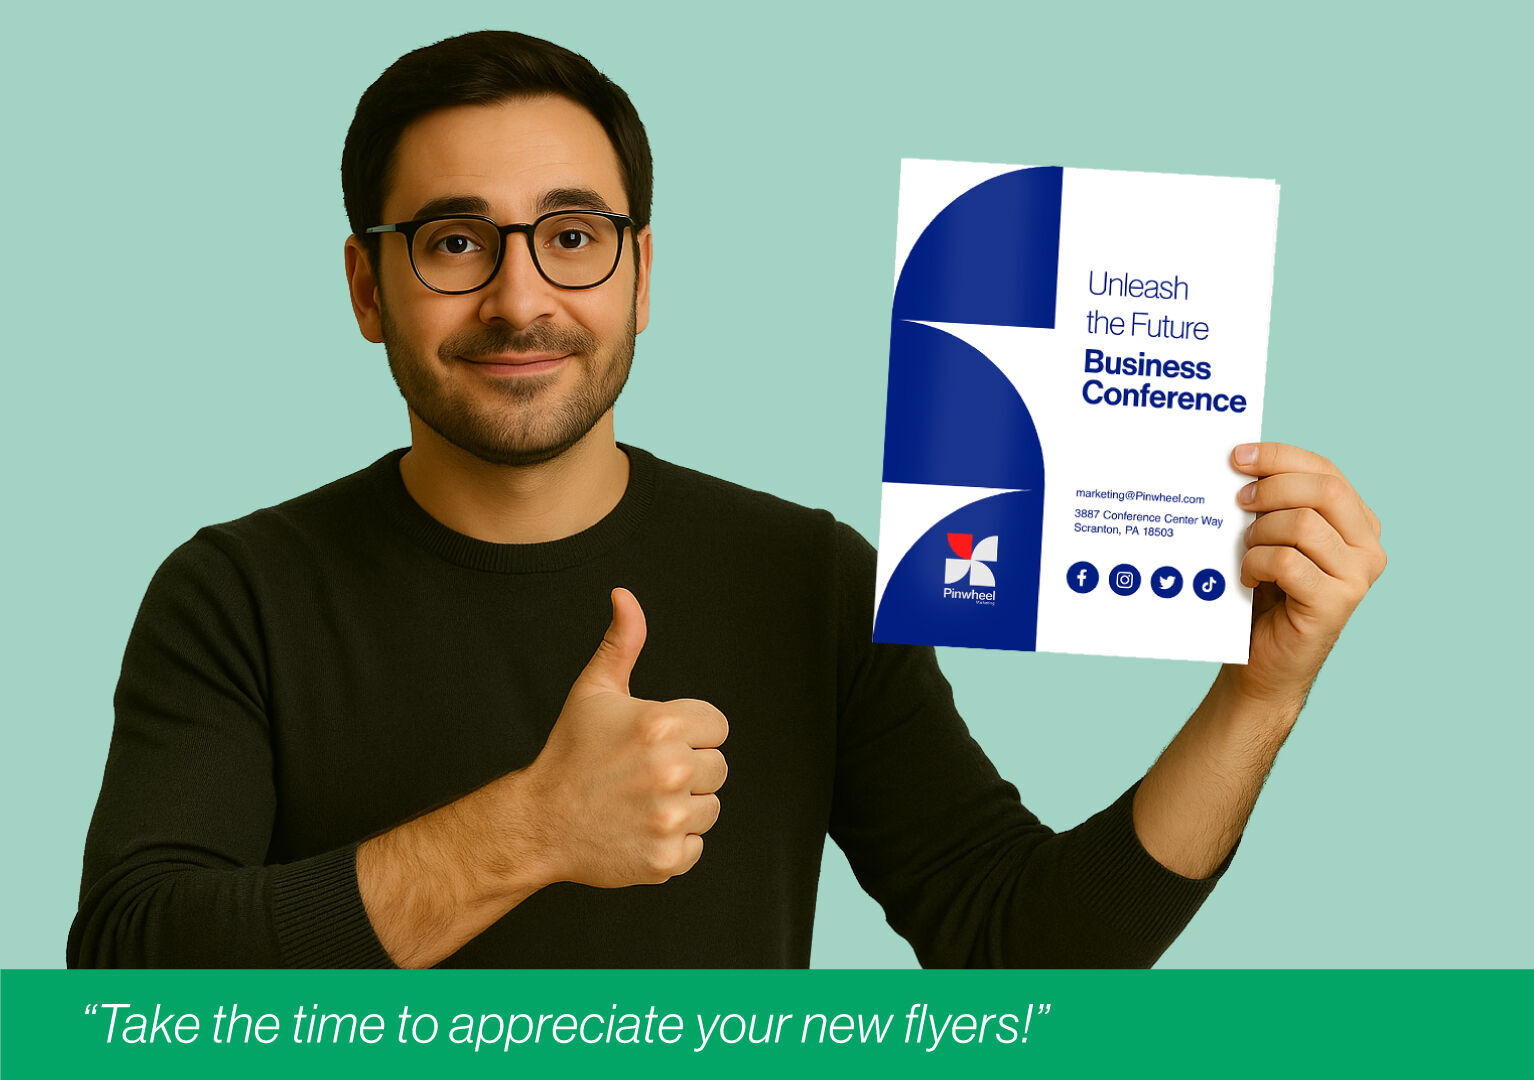
- The final step is simply receiving your freshly printed flyers and seeing all your hard work come to life! Take a moment to check the quality, make sure the colors pop, the text is sharp, and everything looks just as you envisioned.
- You can now hand them out at events, place them at your store’s front desk, or distribute them in high-traffic areas like sidewalks and community boards. With your well-designed flyers, you can spread the word about your brand, products, or services.
- Whether you hand them out in person, include them in packaging, or leave them in strategic locations, your flyers are ready to make an impact!
Conclusion
Creating a suitable flyer that represents your business involves planning, design, and quality printing. With the right visuals, clear messaging, and a strong call to action, your flyer can grab attention and actively showcase your products and services. At NextDayFlyers, we make custom flyer printing easy so you can create high-quality, professional flyers that quickly convey your message and leave a lasting impression.