Scrapbooking is a creative activity that helps you record events and occasions so you can remember them later. Most scrapbook pages center around photographs, but you can also add other items to a scrapbook page, such as printed napkins, movie or concert ticket stubs, and recital programs. Choosing a theme for a scrapbook page helps you decide what colors and embellishments you're going to use. Once you're finished, you'll have a scrapbook page that you can look back on later to remember a special event.
Choose Your Photos
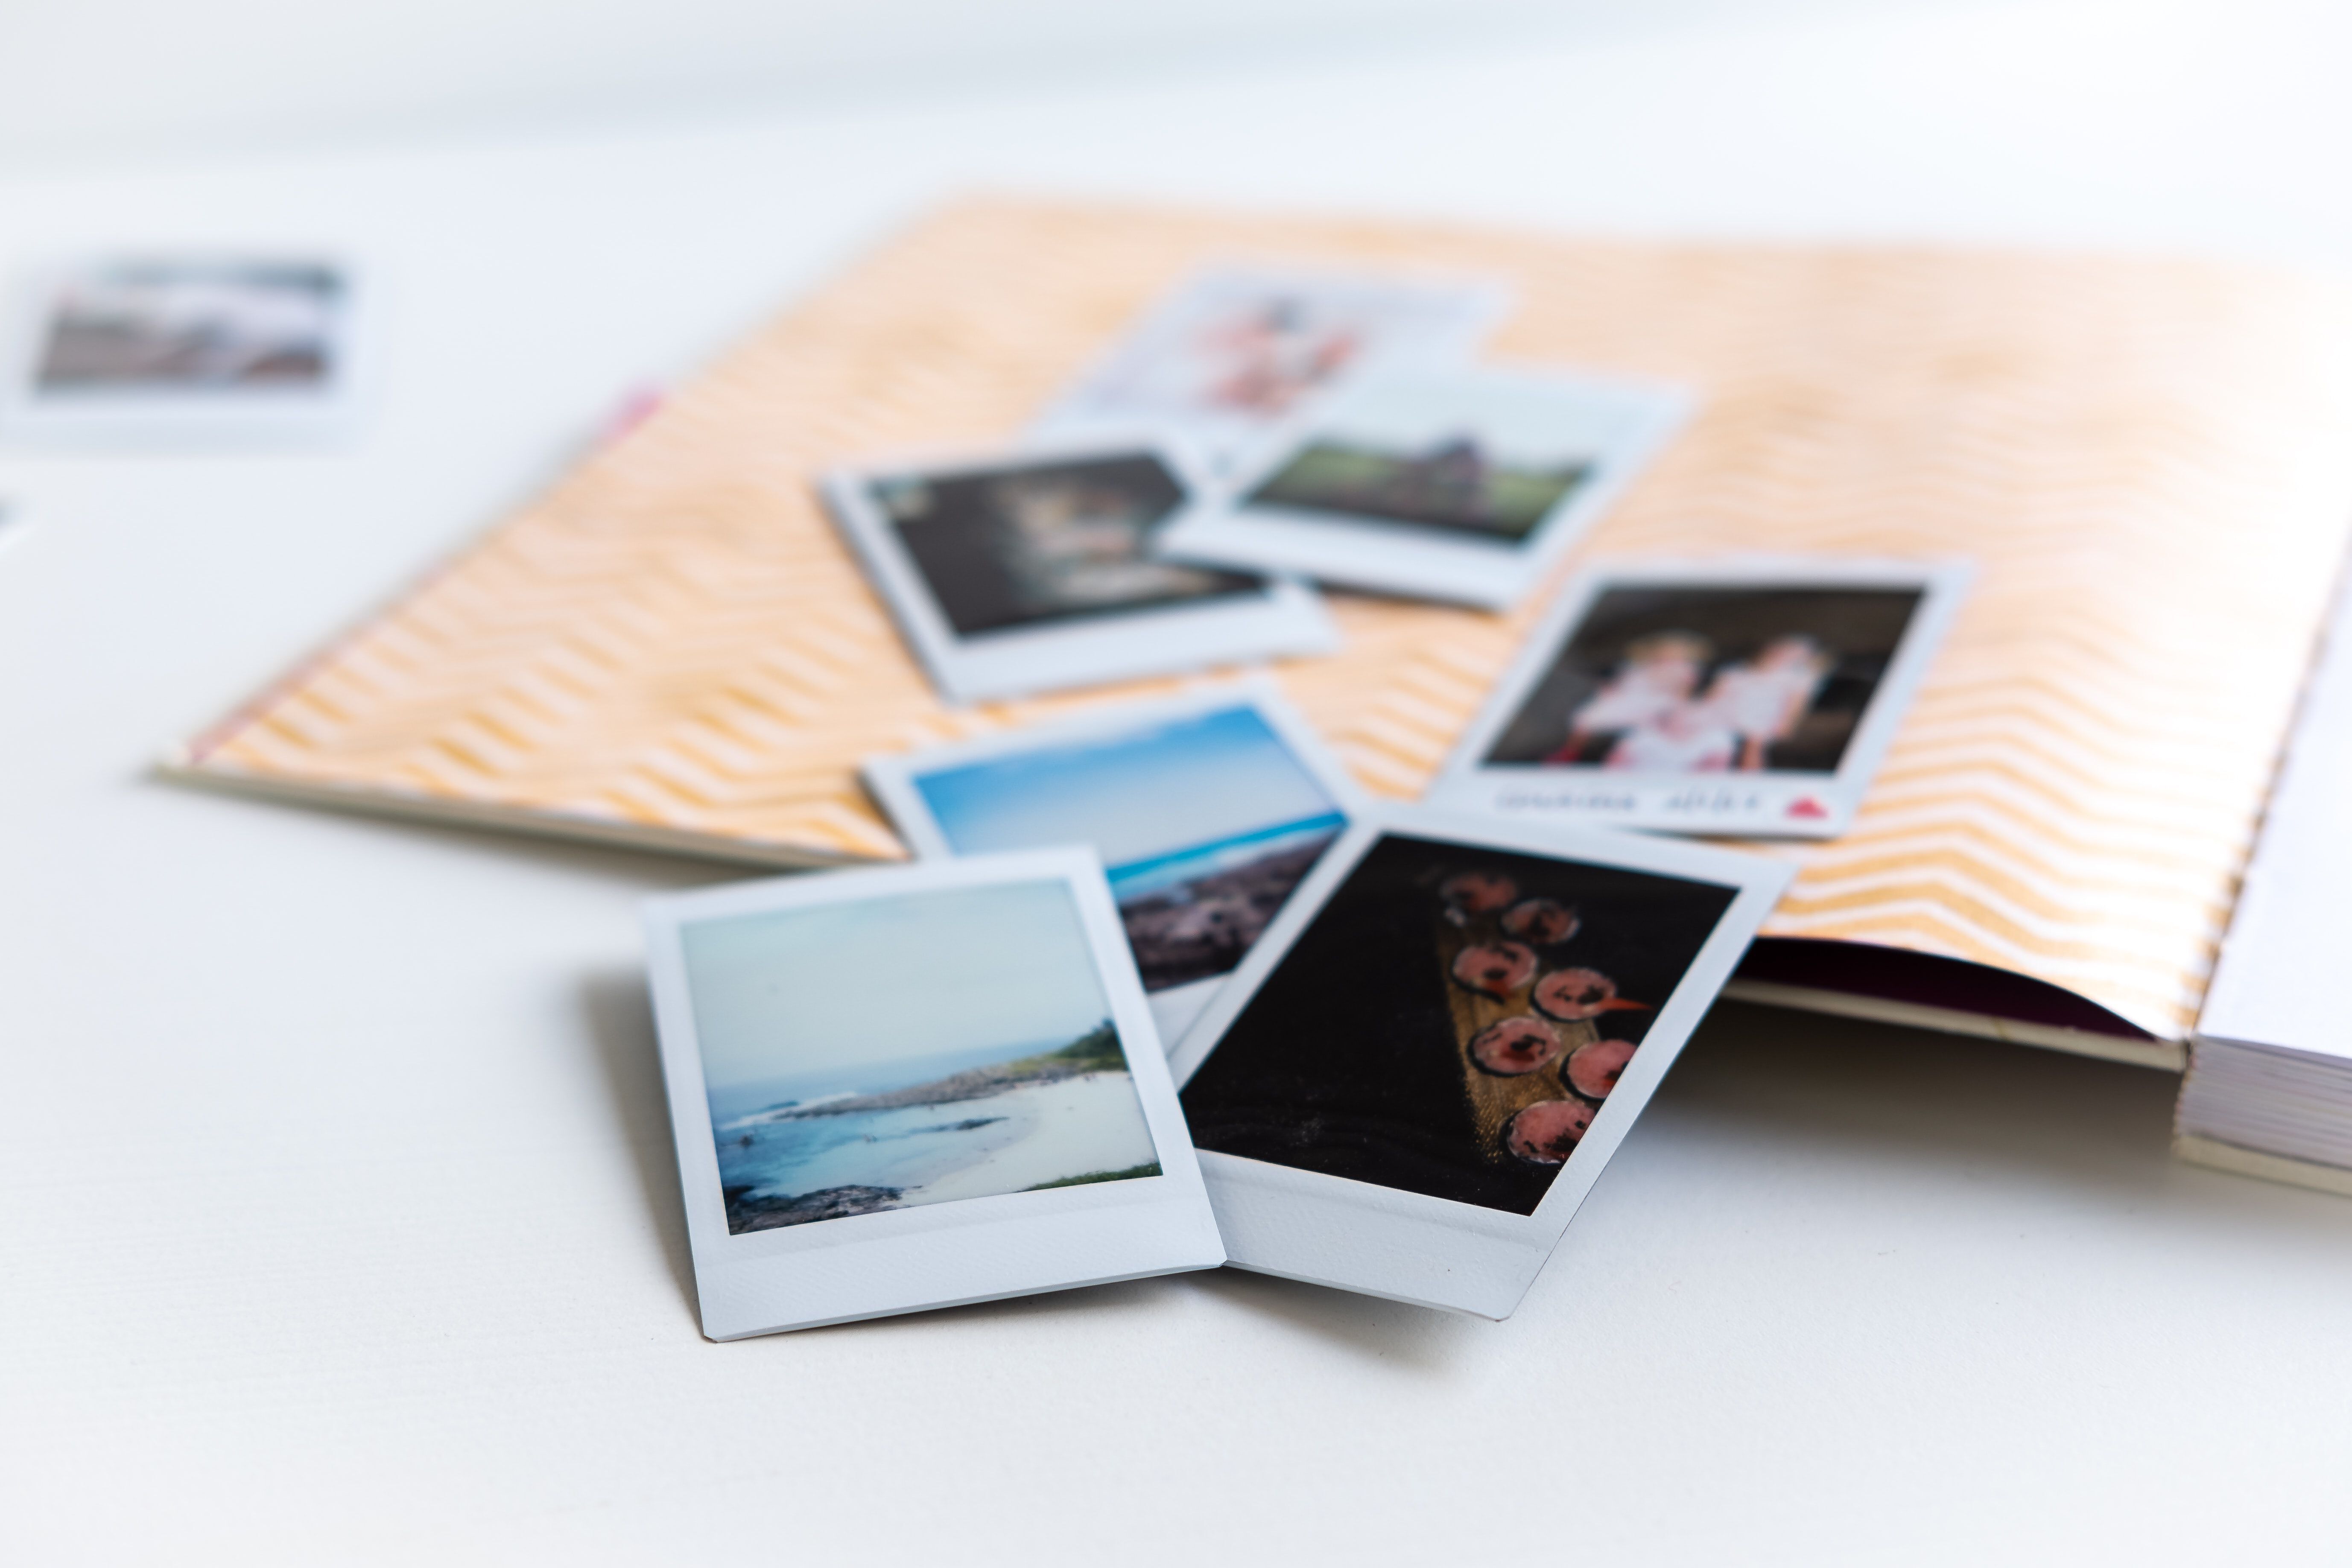
The first step in scrapbooking is choosing the photographs you want to put onto the page. The photos you choose could be all from the same day, event, or occasion, or they might also be just a collection of photos that you like. For a single page, you'll usually want to choose up to four photos. If you have more than four photos, make more than one scrapbook page. After choosing the photos you want to use, pick out your favorite one. This photo will become the focal point of the page, which means this will be the main photo that people look at first.
Choose the Background Paper and Coordinating Papers
The background and coordinating papers will help give your scrapbook page a theme and personality. If your page is about a holiday, choose papers with prints and colors that match with the holiday. If your page has birthday photos, pick papers with patterns that have balloons, cakes, or streamers. It's often fun to combine papers with different patterns and colors. Use the coordinating papers for layering mats under the photos, for places where you'll add notes and captions, and to make decorative shapes. Some people like to layer several different coordinating mats under photos for even more decoration.
Plan a Layout
The layout of the scrapbook page will include the photos, the mats under them, captions and other spaces for text, stickers, and other embellishments like cut-outs and tags. Experiment with a few different arrangements, placing the photos in different spots. Try tilting the photos in different directions, and overlap the mats and tags a little. Keep rearranging everything until you find a layout that you like. After you settle on a layout, leave it for a day and come back to it to see if you want to change anything.
Prepare the Photos
Preparing the photos for the layout starts with matting them. Place each photo over a solid-colored paper to make the first mat. Trim around the photo so you can see about a quarter-inch of the paper around each edge of the photo. Stick the photo to the trimmed mat using an acid-free glue stick or photo tabs. Repeat this with a different colored or patterned piece of paper if you want a layered mat. Do this with every photo you'll be putting on the scrapbook page.
Write the Text
Scrapbook pages usually include captions with each photo that include the names of the people in the photos and what they are doing. Make sure you include names, locations, and the month and year the photos were taken in the captions. You can also write more text for your scrapbook pages if you want. Journaling boxes can include paragraphs of printing that include special details of the event, thoughts, and other things you want to remember. You can also create a title for the scrapbook page and center it at the top or the bottom of the page, if you want.
Glue Everything to the Page
After all of this preparation, it's time to glue everything down. Use acid-free glue so it won't damage the photographs over time. Glue the text boxes, captions, photos, and embellishments where you want them on the background paper. Slip the scrapbook page into a sheet protector to keep it safe, and put it in a three-ring binder or photo album.
- Five Scrapbooking Ideas for Beginners
- The Ultimate Beginner Guide to Learning to Scrapbook
- Scrapbook Ideas, Supplies, and More: Advice From a Been-There Beginner
- New to Scrapbooking: Supply List Tutorial
- A Beginner's Guide to Digital Scrapbooking
- Scrapbook Ideas for Beginners: 25 Inspiring Layouts
- How to Scrapbook
- A Beginner's Guide to Scrapbooking
- Ultimate Guide to Scrapbooking: Ideas, Supplies, and Layouts
- A Beginner's Guide to Scrapbooking
- A Beginner's Guide to Digital Scrapbooking
- A Beginner's Guide to Scrapbooking: Easy Ideas to Get Started!
- The Ultimate Guide to Digital Scrapbooking
- Beginning Scrapbooking
- Acid: Art's Natural Enemy
- What Is Acid-Free, and Why Does it Matter?
- Storing Family Papers and Photographs
- How to Make and Store Archival Prints of Your Photographs